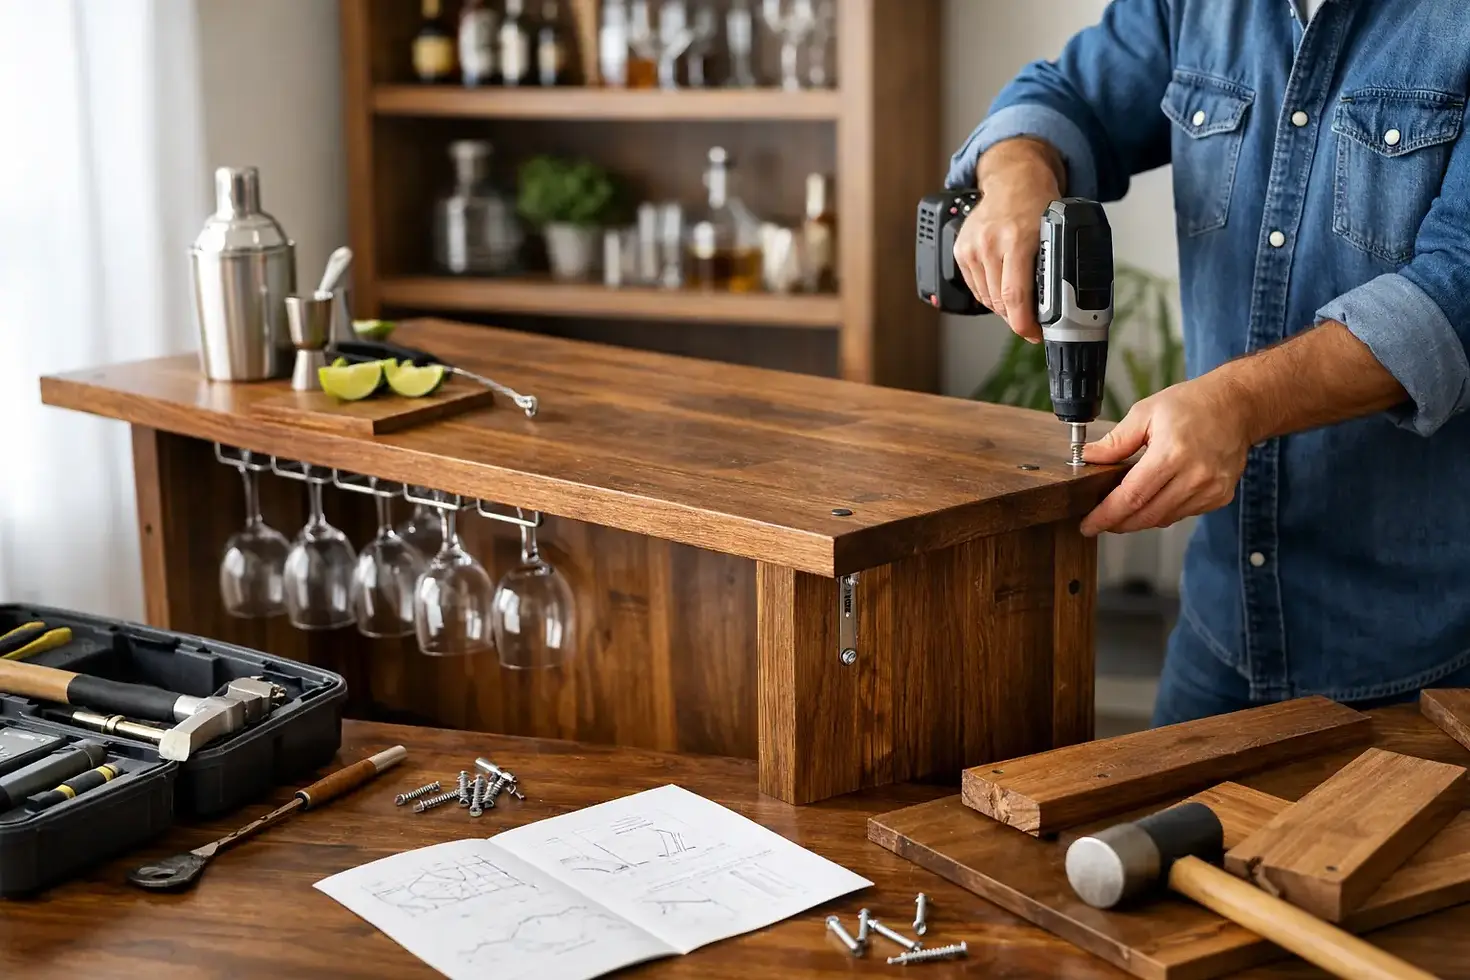
How to Assemble a Wooden Bar Kit at Home

A home bar should feel like the place everyone naturally gathers, not like a project that takes over your weekend. When you assemble a wooden bar kit, the goal is straightforward: get solid, furniture-quality results without needing a full carpentry shop or years of woodworking experience.
A well-built kit takes the hard part out of the equation. The pieces are designed to work together, the finish and layout are chosen for your room, and the assembly process lets you turn delivered components into a real entertainment space. A little preparation makes the work go faster and helps your finished bar look level, clean, and ready to serve.
Prepare Your Room Before the Delivery Arrives
The best assembly job starts before you open the first box. Measure the exact wall or open-floor area where the bar will sit, then compare it with the finished dimensions of your selected bar. Leave enough room behind and beside the bar for access, seating, and normal foot traffic. A bar can technically fit a space and still feel cramped if there is no room for someone to pull out a stool or walk past a guest.
Pay attention to the floor, too. Basements often have slight slopes, and older homes can have uneven flooring. That does not mean a wooden bar kit will not work in the space. It simply means you should identify the low points before assembly so you can make minor adjustments with shims or adjustable leveling hardware if your kit includes it.
Clear a work area near the final location. Moving a completed bar across a basement or through a finished room is harder than building it where it belongs. Protect the floor with cardboard, moving blankets, or a drop cloth while you work, especially if the room has new carpet, vinyl, or hardwood.
What to Have Ready for Assembly
Most homeowners do not need specialty tools to assemble a wooden bar kit. Your product instructions should always be the first authority because hardware and assembly details vary by design. In many cases, a drill or driver, a Phillips-head bit, a level, a tape measure, and a rubber mallet are enough to handle the job.
It also helps to have a second person available. Large bar sections are manageable, but they are easier to position, hold square, and align when one person supports the panel while the other installs hardware. Trying to muscle through a heavy section alone can lead to scratched finishes, stripped fasteners, or a frustrating afternoon.
Keep a small container nearby for screws, bolts, washers, and brackets as you unpack. Do not assume pieces that look alike are interchangeable. Lay out the hardware by type, and check it against the packing list before starting. If anything appears missing or damaged, pause and contact the seller before modifying a part or substituting hardware from the garage.
How to Assemble a Wooden Bar Kit Step by Step
Assembly order matters. Starting with the countertop because it is the most visible piece may seem tempting, but it can create alignment problems later. Build from the base up and use the instructions provided with your specific kit.
Unpack and inspect every component
Open cartons carefully and save the packaging until the bar is fully assembled and inspected. Set the panels out in a logical order, with finished faces protected from rough concrete or tools. Look for labels, predrilled holes, corner blocks, and hardware packs that indicate where each component belongs.
Small variations in wood grain, stain absorption, and natural texture are part of the character of real wood. What you are checking for is shipping damage, incorrect parts, or a missing component, not perfectly identical grain patterns on every panel.
Build and level the base first
Begin with the base or lower cabinet sections. Connect the side panels, front panels, supports, and interior partitions in the prescribed order. Start fasteners by hand whenever possible, then tighten them gradually. Do not fully tighten one corner while the rest of the structure is loose. Bring all connections together evenly so the frame stays square.
Once the base is standing, place a level across the top from side to side and front to back. This step is worth taking seriously. A bar that is slightly out of level may cause doors, drawers, shelves, or a countertop to sit improperly. If the floor is uneven, use small shims under the appropriate low points rather than forcing the wooden structure to compensate.
Add shelves, interior supports, and bar features
With the base level, install interior shelving, foot rails, support blocks, or other features included with the design. These components often do more than provide storage. They can add strength and keep the bar structure rigid over time.
Be careful not to overtighten screws in wood. Fasteners should be snug and secure, but driving them too deep can damage the surface or weaken the holding area. If you are using a power driver, set it to a lower clutch setting and finish by hand when needed.
Set the bar top with help
The countertop is usually the moment when the project starts looking like a real home bar. Have one person on each side when lifting and positioning it. Align the top carefully with the predrilled holes, overhangs, or mounting points specified in the instructions.
Before securing it, step back and look at the front and ends. Check that the reveal is even and that the top is centered. Then fasten it in sequence, alternating sides as needed. This helps prevent the top from shifting while you work.
Do a final stability check
Once all major pieces are connected, gently test the bar for movement. It should feel solid, with no rocking, loose panels, or visible gaps at major joints. Recheck the level after the countertop is installed, because the added weight can reveal a floor issue that was not obvious earlier.
A final pass with a clean, soft cloth removes dust from handling and makes the finished wood look its best. Avoid harsh cleaners, abrasive pads, and excessive water. For routine care, a lightly damp cloth followed by a dry cloth is usually all a finished wooden bar needs.
Avoid the Assembly Mistakes That Slow People Down
Most problems are preventable. The common mistake is rushing to tighten every screw before checking alignment. Leave connections slightly loose until adjoining pieces are in place, then tighten the structure once it is square and level.
Another issue is assembling on an uneven surface without checking the final position. A smooth garage floor may be great for unpacking, but it will not tell you how the bar will sit on a basement floor. Whenever practical, assemble in the room where the bar will live.
Finally, do not make unapproved cuts or drill new holes simply because a part seems slightly out of place. Wood furniture is designed with specific connection points and support locations. A quick call or message to customer support can save you from turning a minor question into a permanent alteration.
Make the Finished Bar Work for Your Home
After assembly, give the bar a job beyond holding bottles. Arrange the back bar area around how you entertain. If you mostly host game nights, leave room for snacks, napkins, and a cooler nearby. If you enjoy cocktails, reserve the most accessible shelf space for glassware, mixers, and tools. For a family room or basement, durable stools and easy-to-clean surfaces matter as much as style.
Lighting changes the experience more than most homeowners expect. A warm lamp, under-bar lighting, or a nearby dimmable fixture can make the space inviting without making it feel like a commercial bar. Keep electrical cords organized and away from walkways, particularly if children or pets use the room.
A custom-style home bar does not need to require a custom contractor schedule. Basement Home Bar kits are built to make the process more manageable, from choosing a size and finish to getting the components delivered and assembled in your space. Take your time with the base, level it carefully, and ask for support when a question comes up. The reward is a sturdy gathering place that feels like it has always belonged in your home.


Comments